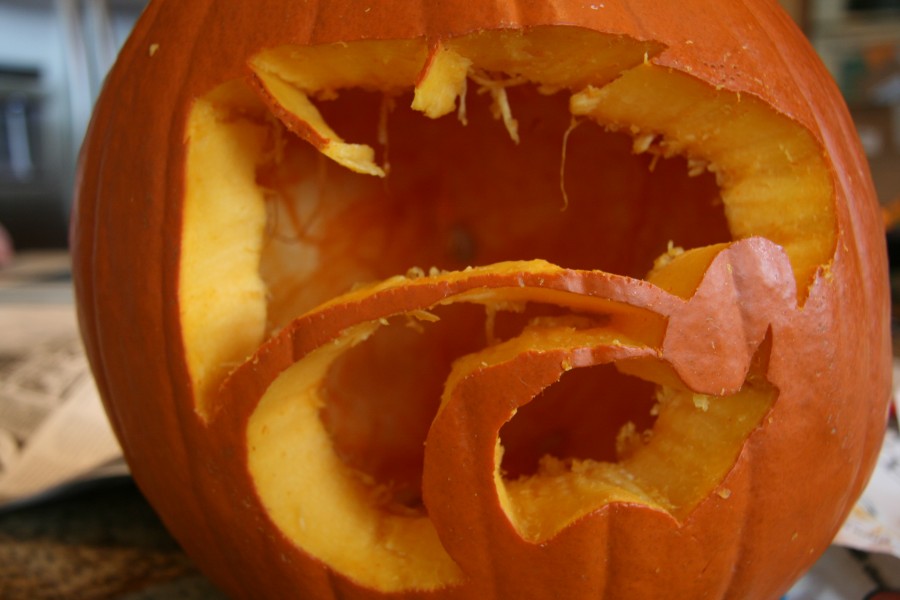
Carving a pumpkin is one of the most time consuming tasks unless you’re a pro at it… but who is? It could take you one to three hours to carve a pumpkin that will most likely rot within the week, but it is sure worth it if it looks nice.
The items you will need in this project are: a pumpkin (3.99 at Hy-Vee), a carving kit, old newspaper, a big bowl, and a sharp serrated knife.
The first thing you need to do when carving a pumpkin is to lay down old newspapers on the counter or surface to where your going to carve it. Then you will have to put the pumpkin there and wipe it down with a wet paper towel. Once its clean you will use your sharp serrated knife to cut a hole on the top of the pumpkin around the stem, big enough to put your hand through it.
This next step is the fun part. You will use your hand or the scooper tool that came in the carving kit, and take out all of the insides of the pumpkin. The “guts” and the seeds, you will need to take it all out and put it in your bowl. After you have a clean inside pumpkin, you will tape a picture of what you want to carve. You could go a cougar head or one of the ideas they give you in the carving kit booklet. When it is taped on you will use the “poking” tool to out like the places you need to cut. Once you have outlined the whole design you can take the paper off and you will see the dots, and then you can carve the pumpkin.
When you carve the pumpkin you want to be very careful to not cut yourself. You also have to be careful on how you cut it so you don’t mess it up. Don’t worry if something breaks or doesn’t look the way you planned. To quote Hannah Montana… “Nobody’s Perfect.”


